Acoustic Treatment as a Studio Shortcut: The 2026 Home Studio Buyer’s Guide
Great mixes rarely start with better plugins—they start with a room that isn’t lying to you. This 2026 guide breaks down the acoustic treatment that actually matters in home studios, from panel placement and bass control to what’s worth buying, what’s marketing fluff, and when soundproofing is a different problem entirely.
Why Acoustic Treatment Still Beats Another Plugin
If you work in a home studio, your room is part of the signal chain. That sounds obvious until you realize how many producers try to solve a bad room with monitors, EQ plugins, or endless reference tracks. Acoustic treatment is the non-glamorous fix that changes what you actually hear, which changes every decision you make: kick weight, vocal brightness, stereo width, low-end balance, reverb depth, and even how hard you compress a mix.
In 2026, the best acoustic treatment for home studios is still not about making a room “dead.” It’s about controlling reflections and low-frequency buildup so your monitors tell the truth. For most producers, that is a bigger upgrade than a speaker swap. A modest pair of treated sidewalls and properly placed bass traps can do more for translation than a flashy piece of gear.
First, Separate Treatment from Soundproofing
This is the mistake that causes the most bad purchases. Acoustic treatment improves how a room sounds from the inside. Soundproofing keeps sound from entering or leaving the room. They are not the same thing.
If your goal is to hear your mix more accurately, acoustic panels, bass traps, and ceiling clouds are the tools. If your goal is to stop kick drums from leaking through walls at midnight, that is a construction problem: mass, decoupling, sealing gaps, and sometimes room-in-room building. Foam tiles do almost nothing for soundproofing, and they are not a substitute for serious treatment either.
For most home-studio buyers, the right question is not “How do I soundproof this room?” It is “How do I make this room usable for mixing, producing, and recording?”
The Three Treatment Moves That Matter Most
Most rooms do not need exotic products. They need the basics done well.
1. Bass Traps in Corners
Low frequencies accumulate in corners, and that buildup is what makes kicks feel huge in one room and disappear in another. Bass traps are the first purchase for a serious studio because untreated low end wrecks every mix decision. Look for thick, high-density mineral wool or fiberglass traps, ideally large-format corner units. Thin foam is not bass control.
For small bedrooms and untreated spare rooms, corner bass traps are the highest-value upgrade. Start with vertical corners if possible, then consider wall-ceiling corners if the budget allows. In tighter spaces, even partial coverage in the front corners behind the monitors can help stabilize the low end.
2. First-Reflection Panels
Sidewall reflections smear stereo imaging and make vocals, snare transients, and high-end detail harder to judge. First-reflection points are where the speaker sound bounces off the side walls and reaches your ears a fraction of a second later. Treating those spots tightens the center image and improves panning decisions.
The practical move: sit in your mix position, use a mirror on the wall, and mark where you can see each monitor from the listening spot. Those are the first-reflection points. Install broadband panels there, usually 2 to 4 inches thick, depending on room size and how much low-mid control you need.
3. A Ceiling Cloud
The ceiling is often ignored, which is a mistake in small rooms where the desk and monitors sit close to a hard surface overhead. A ceiling cloud above the listening position reduces vertical reflections and can make a surprisingly large difference in clarity. In a compact home studio, this can be the difference between a mix that feels boxed-in and one that opens up.
What to Buy: Panel Types That Actually Make Sense

When shopping for treatment, think in terms of absorption band, thickness, and coverage. Decorative “studio foam” looks polished in product photos, but the cheapest wedges do very little below the upper mids. That can leave a room sounding dull on top and uncontrolled in the low end—the worst of both worlds.
Broadband absorption panels are the safest buy for most home studios. Mineral wool or rigid fiberglass panels wrapped in breathable fabric are the workhorse choice because they absorb a wide frequency range and can be used for sidewalls, rear walls, and ceilings.
Thicker panels generally perform better. A 4-inch panel with an air gap outperforms a 2-inch panel mounted flat to the wall, especially in the low mids where home studios often get muddy. If your room is small and reflective, thickness matters more than fancy branding.
Diffusers are more situational. They scatter reflections instead of absorbing them, which can be useful in larger rooms or on rear walls where you want to preserve some liveliness. In many small home studios, absorption should come first. Diffusion is not a replacement for fixing early reflections and bass problems.
The Room Sizes That Change the Buying Decision
A treatment plan should match the room, not the marketing brochure. A 10×12 bedroom has different needs than a converted garage or dedicated basement room.
Small rooms: Prioritize bass traps, sidewall absorption, and a ceiling cloud. In very small spaces, over-treating random walls can make the room unnaturally dry while leaving the bass messy. Solve the low end first.
Medium rooms: You can add more balanced coverage, including some rear-wall treatment. This is where mixing gets noticeably easier because imaging and decay times start to feel more consistent.
Larger dedicated rooms: You can start to think about a combination of absorption and diffusion, especially if the room is already structurally decent. But most home studios never get to the point where diffusion should be the first spending priority.
How Much Treatment Is Enough?
There is no single magic number, but a useful way to think about it is coverage plus symmetry. A treated room should behave consistently on both sides of the listening position, with the speakers and ears arranged in a sensible equilateral triangle. If one wall is heavily absorbed and the other is bare, your stereo field will skew and your decisions will suffer.
As a rough buying strategy for a typical home studio, start with:
- Four corner bass traps, or as much corner coverage as your room allows
- Two first-reflection panels per side wall
- One ceiling cloud above the mix position
- Optional rear-wall treatment if the room is especially lively
That setup is enough to transform many untreated bedrooms into usable production spaces. It will not make a bad room perfect, but it will make your monitoring far more reliable.
The Real ROI: Better Decisions, Faster
The value of treatment is not just sonic quality. It is speed. In an untreated room, you second-guess every move because the playback changes depending on where you sit, how loud you monitor, and what frequency content the track has. That means more revisions, more reference-checking, and more mixes that collapse on earbuds or car speakers.
A well-treated home studio shortens the feedback loop. You hear more of the actual mix and less of the room. Low-end decisions become more trustworthy. Reverb throws are easier to set. Compression feels less confusing. Even recording improves because the space is less boxy and less comb-filtered.
For producers choosing where to spend money in 2026, acoustic treatment is one of the clearest returns in the entire studio ecosystem. It is not glamorous, but it is foundational.
Buying Checklist: What to Look For in 2026

When comparing products, look past the aesthetic branding and check the practical details:
- Thickness: 4 inches or more for serious broadband control
- Material: mineral wool or fiberglass with known acoustic performance
- Fabric: breathable, not vinyl-wrapped or sealed
- Mounting: easy wall or ceiling hardware, plus air-gap options
- Coverage: enough surface area to create symmetry, not just decorative strips
If a product marketes itself as “studio quality” but provides no data, no material specs, and no frequency-response information, treat that as a red flag. Good treatment should be boring in the best way: measurable, predictable, and built to solve a real room problem.
Final Verdict: Worth It?
Yes—if you are mixing, recording, or making critical production decisions in a home studio, acoustic treatment is absolutely worth it. In many cases, it is the most cost-effective upgrade you can make. The best approach is not to chase a fully “dead” room or confuse treatment with soundproofing. It is to fix the reflections and bass behavior that distort your judgment.
If you want a simple rule: buy bass traps first, then first-reflection panels, then a ceiling cloud. Skip the decorative foam trap, and spend where the room actually needs help. That is the acoustic shortcut that makes everything else in your studio work better.
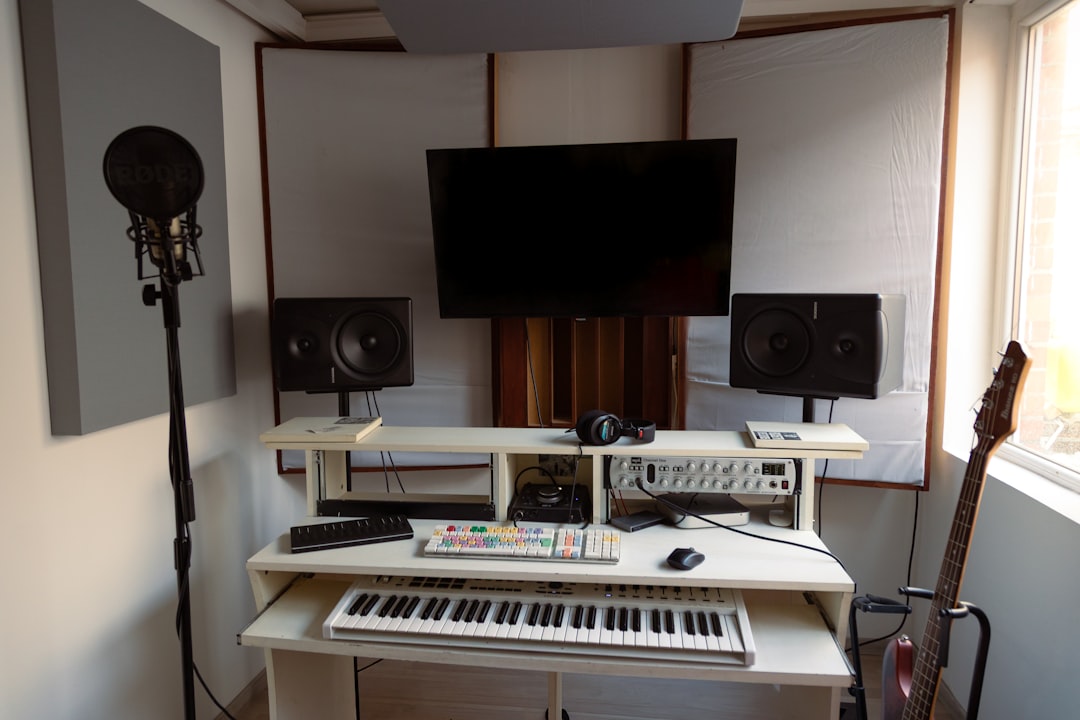
Image: Wide view of Soundsitive Studio B featuring a modern recording and production setup with studio monitors, acoustic treatment, and a clean workspace designed for mixing, vocal sessions, and creative production. A functional and inspiring environment for artists and sound engineers. Photo by Céline Cao. | Soundsitive Studio | License: Unsplash License | Source: Unsplash | https://unsplash.com/photos/recording-studio-with-keyboard-microphone-and-guitar-sBQzees_IcQ