Inside Travis Scott’s Vocal Chain: Autotune, Reverb, Delay, and the Space Around the Voice
Travis Scott’s vocal sound is less about one magic plugin than a chain of tuning, ambience, distortion, and careful spatial design. Here’s what actually shapes the tone, and how to build a similar workflow in your own sessions.

Why Travis Scott’s vocal sound feels bigger than the vocal itself
Travis Scott’s records rarely treat the voice as a dry, front-of-the-speaker lead. Instead, the vocal is designed like an instrument in a large, synthetic room: tuned hard, pushed through effects, blurred by ambience, and often tucked into the track’s atmosphere rather than sitting cleanly on top of it. That’s the key to the sound. It isn’t just Auto-Tune. It’s the entire chain around it.
If you want to understand the Travis Scott vocal aesthetic, start with this idea: the voice is part performance, part texture, and part production design. The tuning gives it the pitch behavior. The reverb and delay create scale. Distortion and saturation add density. Editing and layering finish the illusion. When all of that works together, the result is a vocal that feels massive, emotional, and slightly unreal.
The foundation: heavy tuning, but not in a sterile way
Auto-Tune is the most obvious ingredient in the Travis Scott formula, but the important detail is how it’s used. The classic approach is fast retune speed, strong key/scale locking, and a deliberate embrace of the artifacts. That creates the familiar glide between notes and the pinned, futuristic pitch feel associated with modern trap vocals.
In practical terms, many producers reach for Antares Auto-Tune Pro or Auto-Tune Artist for this role, though alternatives like Waves Tune Real-Time or Logic’s Flex Pitch can get you into similar territory. The point is not transparency. The point is control. Travis-style vocals usually benefit from tight correction that makes the melody feel stylized rather than naturalistic.
What matters most is the source performance. The best tuning chain in the world cannot rescue a vocal that is rhythmically flat or melodically inconsistent. Travis’s delivery often sits in a narrow melodic lane, which makes aggressive tuning sound intentional instead of corrective.
The real signature: space, size, and decay
The atmosphere around the vocal is where the Travis Scott sound becomes unmistakable. His records often use lush reverb tails, filtered delays, and layered ambience that stretch the voice into the track’s environment. This is where a lead vocal stops sounding like a dry mono signal and starts functioning like a cinematic element.
Large plate and hall-style reverbs are common starting points, but the trick is usually the settings: pre-delay that preserves intelligibility, darkened high end so the reverb doesn’t get brittle, and a decay long enough to feel wide without washing out the groove. A reverb with a bit of modulation can also help create that drifting, dreamlike haze.
Plugins like Valhalla VintageVerb, FabFilter Pro-R, Soundtoys Little Plate, or a stock DAW reverb can all work if you shape them properly. The essential move is to avoid a bright, obvious “effect” reverb. Travis-style ambience is usually more immersive than flashy. It surrounds the voice instead of announcing itself.
Delay is doing more work than most listeners realize
Delay is one of the most useful tools in this sound, especially for building width and emotional momentum without drowning the lead. Short slap delays can give thickness. Tempo-synced delays can fill gaps between phrases. Ping-pong delay can spread ad-libs and throwaway lines across the stereo field.
For this style, delays are often filtered aggressively. Low-end is removed so the repeats do not clutter the kick and 808. High-end may also be softened to keep the repeats behind the dry vocal. In many sessions, delay is automated rather than left static. A producer might open up a longer throw on the end of a phrase, then pull it back during the verse for clarity.
EchoBoy, H-Delay, Delay Designer, and the stock delays in Ableton, FL Studio, and Logic can all serve this purpose. What matters is not the logo on the plugin; it’s the discipline of controlling how repeats occupy space.
Saturation, distortion, and vocal density
One reason Travis Scott vocals can feel huge even when they’re not especially loud is density. The voice often carries harmonic weight from saturation, subtle distortion, or clipping-style processing. That extra harmonic content helps the vocal cut through dense beats packed with synth layers, sub-heavy drums, and ambient textures.
This does not always mean obvious fuzz. In many cases, the processing is subtle: a tape-style saturator, a console emulation, or a mild overdrive-style effect pushed until the vocal becomes thicker and more forward. Plugins from Soundtoys Decapitator, FabFilter Saturn 2, Slate VTM-style tools, or even DAW stock saturators can all contribute here.
Used well, saturation also helps glue the tuned vocal to the reverb and delay chain. Instead of the voice sounding surgically clean and pasted on top, the harmonics make the entire signal feel more integrated.
Stacked ad-libs, doubles, and vocal layering
A huge part of the Travis Scott impact comes from arrangement, not just processing. The lead vocal is often supported by doubles, harmonies, whisper layers, shouted ad-libs, and heavily processed background textures. These layers create a sense of scale that a single dry take simply cannot deliver.
In practice, these parts are often treated differently from the lead. Ad-libs may be panned wide, drenched in reverb, pitched, distorted, or filtered. Harmonies may be lowered in level and darkened with EQ so they support the melody without drawing focus. Doubles may be compressed harder to stabilize the performance. The result is a vocal stack that feels architected rather than merely recorded.
This is also why the Travis Scott sound translates so well in stereo. The center vocal anchors the song, while surrounding layers create the impression of motion and scale. If you only copy the lead chain and ignore the backing architecture, you miss a major part of the aesthetic.
EQ and compression: making the effects work without masking the voice
Heavy effects only sound expensive when the underlying mix is managed carefully. Travis-style vocals usually need EQ and compression to keep the tonal balance from collapsing under all that ambience. Compression can even out the vocal and increase sustain, which makes the reverb and delay feed more smoothly. EQ can remove muddiness, tame harshness, and carve out space for the voice to sit inside a dense instrumental.
A common practical approach is to high-pass the vocal to remove unnecessary low-end rumble, cut mud in the low-mids if the chain gets cloudy, and manage any harsh presence buildup before the effects send. On the dynamic side, serial compression often works better than one aggressive compressor doing everything. A faster compressor can catch peaks, while a slower one can add density and keep the voice locked in place.
Without this cleanup, the reverb can turn into mush, and the delay can smear consonants. With it, the effects feel expansive instead of messy.
How to build a Travis Scott-inspired vocal chain in your own DAW
If you want a practical starting point, use this as a simple template:
- Pitch correction: Auto-Tune Pro or a real-time pitch tool set to the song key with a fast retune speed.
- Cleanup EQ: High-pass filter, gentle low-mid reduction, control any harsh upper mids.
- Compression: One compressor for peak control, another for leveling if needed.
- Saturation: Light harmonic drive to thicken the vocal and help it sit forward.
- Delay send: Filtered slap or tempo-synced delay, automated for phrase throws.
- Reverb send: Dark plate or hall with pre-delay and a controlled decay.
- Optional parallel processing: Distorted, filtered, or heavily compressed duplicate for texture.
From there, listen to how the vocal interacts with the beat. If the instrumental is already spacious, your vocal effects may need to be shorter and darker. If the beat is dry and minimal, you can push the ambience harder. Travis Scott’s sound is always a conversation between the vocal and the production around it.
What producers should actually take from this sound
The biggest lesson in the Travis Scott vocal style is not “use more Auto-Tune.” It’s that vocal production can create a world, not just a clean take. The tuning establishes the identity. The reverb and delay establish the environment. Saturation establishes physicality. Layers establish scale. Together, they turn the vocal into a production centerpiece.
That mindset matters whether you’re making trap, alt-R&B, pop, or experimental rap. Once you stop treating effects as corrections and start treating them as composition tools, the Travis Scott approach becomes less of a preset chase and more of a workflow philosophy.
And that’s the real takeaway: the sound is not a single plugin setting. It’s a deliberate chain built to make the voice feel larger, stranger, and more cinematic than everyday rap recording usually allows.
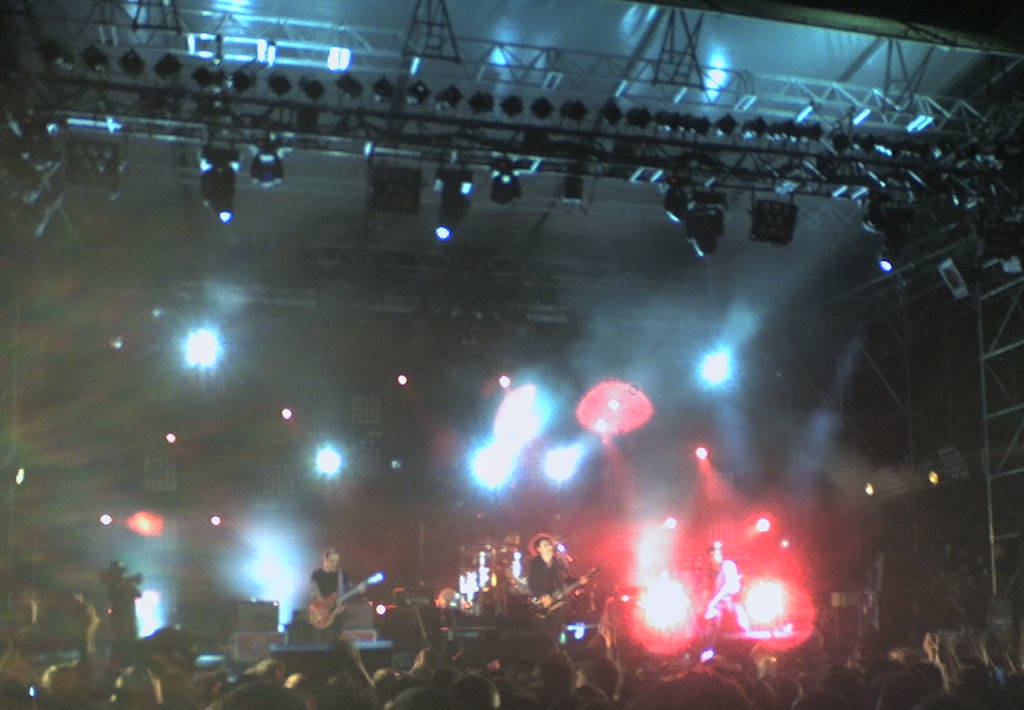
Image: Travis Scott – Openair Frauenfeld 2019 08.jpg | Own work This file was uploaded with Commonist. | License: CC BY-SA 4.0 | Source: Wikimedia | https://commons.wikimedia.org/wiki/File:Travis_Scott_-_Openair_Frauenfeld_2019_08.jpg