Streaming-Ready Mastering: The Final Studio Tool That Makes a Mix Translate
Mastering for Spotify and other streaming platforms is less about chasing one loudness number and more about building a durable final version that survives codec conversion, normalization, and playlist context. Here’s where LUFS targets fit into a modern mastering workflow—and where they don’t.
Mastering for streaming platforms is often treated like a loudness contest with a rulebook attached. In reality, it’s a finishing process: the last studio step that makes a mix translate across earbuds, club systems, phone speakers, laptop speakers, and compressed streaming codecs without losing its identity. If you’re mastering for Spotify, the important question isn’t simply what LUFS number should I hit? It’s what final version will hold up after normalization, encoding, and real-world playback?
That distinction matters. Spotify, Apple Music, YouTube, Amazon Music, and Tidal all handle playback level differently, but the modern mastering workflow is built around one central idea: the master should sound intentional at the listening level the platform ultimately delivers. LUFS is part of that conversation, not the whole story.
What LUFS actually tells you
LUFS stands for Loudness Units relative to Full Scale. Unlike peak meters, which only tell you the highest sample value, LUFS measures perceived loudness over time. That makes it far more useful for streaming masters because a song can peak at the same level as another track and still feel much louder or softer depending on arrangement, density, and spectral balance.
There are a few loudness readings worth knowing:
- Integrated LUFS: the average loudness of the full track.
- Short-term LUFS: a moving average over a few seconds, useful for chorus versus verse comparison.
- Momentary LUFS: a very short measurement, helpful for spotting transient-heavy sections.
- True Peak: the estimated peak level after conversion, which matters a lot for streaming codecs.
If you only watch one meter, make it a loudness meter with integrated LUFS and true peak readings. That combination gives you a practical view of how the master will behave after normalization and encoding.
Spotify’s target: aim for the delivery, not the myth
Spotify commonly normalizes playback to around -14 LUFS integrated for many listening contexts. That number gets repeated so often it can sound like a hard law. It isn’t. It’s a playback target used by the platform’s loudness normalization system, and it doesn’t mean every master should be forced to exactly -14 LUFS in the studio.
Here’s the key workflow decision: if you deliver a master louder than Spotify’s normalization target, Spotify will usually turn it down. If you deliver a quieter master, it may be turned up. In both cases, the listener may end up hearing something close to the platform’s reference level, but your master still needs to survive the process sonically.
That means there are two practical approaches:
- Match the platform level and master around the normalized target if you want a very conservative, streaming-native approach.
- Master louder intentionally if the style depends on density, impact, or competitive loudness—then make sure the master remains clean when Spotify trims it down.
For many modern genres—pop, hip-hop, EDM, trap, rock, metal, and heavily layered indie—a master between roughly -12 and -8 LUFS integrated can still make sense artistically. The catch is that louder masters must be controlled carefully so the limiting doesn’t shave off punch, distort low end, or add brittle high-frequency hash when encoded.
The real streaming problem: codec conversion
Streaming platforms don’t just normalize loudness. They also encode audio into delivery formats such as AAC or Ogg Vorbis. That conversion can expose problems that sounded fine in the DAW: harsh cymbals, overcooked sibilance, smeared stereo width, or low-end that balloons in the wrong way.
This is why streaming mastering is not just about LUFS targets. It’s also about codec resilience. A master that sounds huge in 24-bit WAV may become edgy or congested after encoding if the top end is too sharp or the limiting is too aggressive.
Watch especially for:
- Ultra-bright top end that turns fizzy after encoding.
- Overlimited transients that collapse snare punch.
- Sub-heavy mixes that eat headroom without translating on small speakers.
- Wide stereo ambience that can feel unstable in lossy playback.
A good streaming master isn’t just loud enough. It’s predictable after conversion.
A practical mastering workflow for streaming platforms
Start with the mix. Mastering can refine and elevate, but it can’t rescue a balance problem that lives in the vocal, kick, bass, or cymbals. The cleaner the mix, the easier it is to land on a streaming-ready master without destructive processing.
Here’s a streamlined workflow that fits most modern sessions:
- Check the mix at a safe reference level. Before you process anything, listen for tonal imbalances, low-end masking, and harshness.
- Use broad corrective EQ first. Small moves matter: a low-end trim below 25–30 Hz, a gentle dip in the 200–400 Hz mud zone, or a subtle shelf to tame brightness.
- Control dynamics with restraint. A compressor with slow attack and moderate release can add glue without flattening the track. For some material, multiband compression or dynamic EQ is a better fit than broadband compression.
- Shape tone before limiting. If the master feels dull or brittle, fix that before the limiter. The limiter should not be doing tonal repair work.
- Set the final loudness with a transparent limiter. Push until the track feels finished, not until the meters are winning. Watch the gain reduction and the transient behavior.
- Measure integrated LUFS and true peak. Then export and audition the file against your references.
If the limiter is constantly chewing through 4–6 dB or more, you’re probably past the point of healthy streaming translation unless the aesthetic demands it. For many masters, 1–3 dB of reduction is enough if the mix is already strong.
True peak: the number that saves you from ugly surprises
True peak matters because lossy encoding can create intersample peaks that go above 0 dBFS even when your sample peak meter looks safe. That’s how a master that technically “never clips” can still distort after upload.
A common and sensible delivery target is to keep the final master at -1.0 dBTP or lower. Some engineers prefer -1.5 dBTP or even -2 dBTP for extra safety, especially when the material is bright, dense, or heavily limited.
This is one of the clearest places where streaming mastering differs from old-school CD-era habits. The goal is not to squeeze the file to the ceiling. It’s to leave enough headroom for platform conversion to happen cleanly.
Should you master every song to -14 LUFS?
Not automatically. This is the biggest misunderstanding in streaming-era mastering. -14 LUFS is not a universal creative target. It is a reference point for playback normalization.
A sparse acoustic track may sound natural and emotionally open at -16 or -15 LUFS. A dense pop track may feel right at -10 LUFS. An aggressive electronic record might push even louder without losing its identity, provided the transients, top end, and low end remain stable.
The better question is: what loudness lets the song keep its musical shape? If the chorus needs more physical impact, don’t flatten it just to satisfy a number. If the song already hits hard at a more moderate level, don’t force extra level into it.
In practice, use LUFS as a calibration tool. It helps you compare versions, understand how your master sits next to reference tracks, and predict normalization behavior. But taste still decides the final outcome.
Reference tracks: the fastest way to avoid blind mastering
Reference tracks are essential because they keep your ears honest. Pick a few songs in the same genre with similar arrangement density and compare them at matched loudness, not at whatever playback level happens to be louder.
Listen for:
- Low-end weight versus clarity
- Vocal forwardness
- Brightness and sibilance
- Width in the chorus
- Transient snap on kick and snare
- How the track feels once the chorus arrives
Matched-level comparison often reveals that a reference you assumed was “loud” is actually just well-balanced. That’s useful information. Many bad masters are simply overprocessed attempts to imitate loudness instead of reproducing balance.
Export settings that matter more than people admit
For streaming delivery, export a high-quality WAV or AIFF file at the session’s native sample rate and bit depth, typically 24-bit. Avoid normalization on export. Do not dither unless you are reducing bit depth. If the platform or distributor requests a specific format, follow that spec exactly.
Before sending, inspect the final file in a few playback environments if possible. A master that sounds expensive in your control room but collapses on laptop speakers is warning you about spectral balance, not about LUFS.
The bottom line: master for translation, not ego
Streaming mastering works best when it’s treated as a translation problem. Your job is to create a master that holds together after normalization, survives codec conversion, and sounds intentional in the contexts people actually use. LUFS targets help you navigate that process, but they are only one piece of the system.
If you remember one rule, make it this: target the sound, then verify the numbers. A strong streaming master is clean, stable, and emotionally intact whether Spotify turns it down, Apple Music does the same, or a listener hears it next to ten other tracks in a playlist. That’s the real studio tool here—the final master as a reliable delivery format, not a loudness stunt.
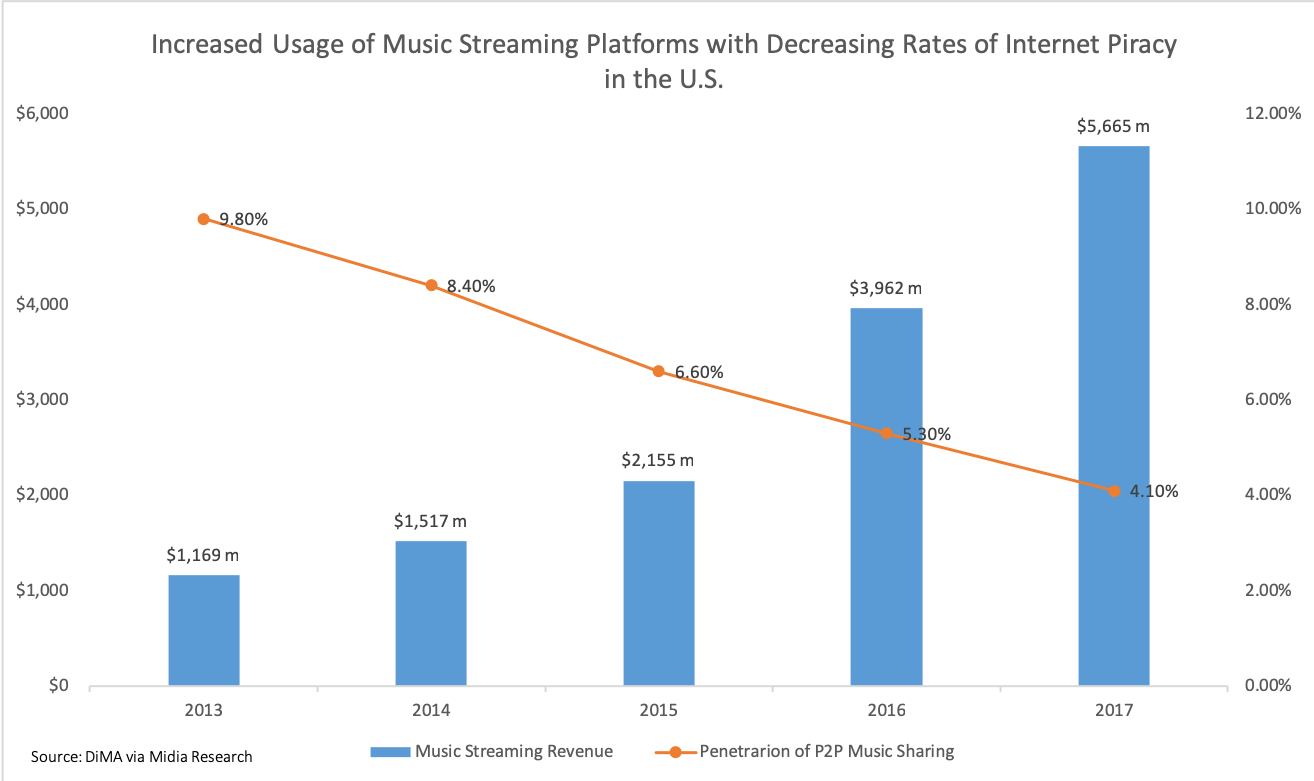
Image: Music streaming platform use vs music piracy rates in U.S.png | Own work | License: CC BY-SA 4.0 | Source: Wikimedia | https://commons.wikimedia.org/wiki/File:Music_streaming_platform_use_vs_music_piracy_rates_in_U.S.png